

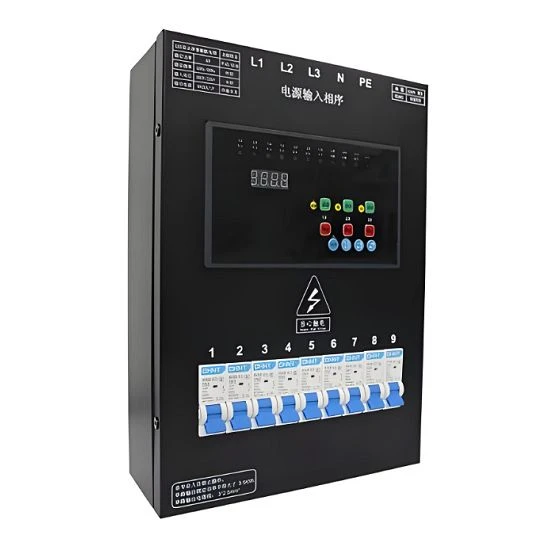
Hey there! As a supplier of External Distribution Boards, I'm stoked to share with you how to install busbars in an External Distribution Board. It's a crucial process, and getting it right ensures the safe and efficient distribution of electrical power. So, let's dive in!
What are Busbars and Why are They Important?
Busbars are like the backbone of an External Distribution Board. They're conductive bars that carry electrical current from the main power source to various circuits within the board. Think of them as superhighways for electricity, allowing it to flow smoothly and safely to where it's needed. Without properly installed busbars, you'd have a real mess on your hands – power outages, overheating, and even potential fire hazards.
Getting Prepared
Before you start installing busbars, you need to make sure you've got everything you need. Here's a quick checklist:
- Busbars: Obviously, you'll need the right busbars for your External Distribution Board. Make sure they're the correct size and material for your specific application.
- Tools: You'll need a variety of tools, including a drill, screwdriver, wrenches, and a torque wrench to ensure proper tightening.
- Safety Gear: Safety first! Wear safety glasses, gloves, and a hard hat to protect yourself from any potential hazards.
- Installation Manual: Every External Distribution Board comes with an installation manual. Make sure you read it thoroughly before you start.
Step 1: Prepare the External Distribution Board
The first step is to prepare the External Distribution Board itself. Start by removing the cover of the board. This will give you access to the inside and make it easier to install the busbars. Next, clean the inside of the board to remove any dust, debris, or dirt. This will ensure a good connection between the busbars and the board.
Step 2: Position the Busbars
Once the board is clean, it's time to position the busbars. Carefully place the busbars in the designated slots or brackets inside the board. Make sure they're aligned properly and that there's enough space between them to prevent any short circuits. You may need to use a level to ensure that the busbars are perfectly horizontal.
Step 3: Secure the Busbars
After positioning the busbars, it's time to secure them in place. Use the appropriate screws or bolts to attach the busbars to the board. Make sure you tighten them securely, but don't over-tighten as this could damage the busbars or the board. Use a torque wrench to ensure that you're applying the correct amount of force.
Step 4: Connect the Busbars
Once the busbars are secured, it's time to connect them to the main power source and the various circuits within the board. Use the appropriate cables and connectors to make the connections. Make sure you follow the wiring diagram in the installation manual to ensure that everything is connected correctly.
Step 5: Test the Connections
After connecting the busbars, it's important to test the connections to make sure they're working properly. Use a multimeter to check the voltage and continuity of the connections. If you notice any issues, double-check your wiring and make any necessary adjustments.
Step 6: Install the Cover
Once you're satisfied with the connections, it's time to install the cover of the External Distribution Board. Make sure it's properly aligned and that all the screws are tightened securely. This will protect the busbars and the other components inside the board from dust, debris, and moisture.

Tips and Tricks
- Plan Ahead: Before you start installing the busbars, take the time to plan out the layout. This will make the installation process much easier and ensure that everything fits properly.
- Use the Right Tools: Using the right tools is essential for a successful installation. Make sure you have all the necessary tools on hand before you start.
- Follow the Instructions: Always follow the installation manual that comes with your External Distribution Board. This will ensure that you're installing the busbars correctly and safely.
- Take Your Time: Installing busbars is a precise process that requires patience and attention to detail. Don't rush through it, and take the time to do it right.
Conclusion
Installing busbars in an External Distribution Board is a crucial process that requires careful planning and attention to detail. By following the steps outlined in this blog post, you can ensure that your busbars are installed correctly and safely. If you have any questions or need further assistance, don't hesitate to contact us. We're here to help!
And if you're in the market for a high-quality External Distribution Board, Metering Distribution Box, External Distribution Board Enclosure, or Outdoor Power Distribution Panel, we've got you covered. Our products are designed to meet the highest standards of quality and safety, and we offer a wide range of options to suit your specific needs. So, what are you waiting for? Contact us today to learn more!
References
- Electrical Installation Handbook, Schneider Electric
- National Electrical Code (NEC), National Fire Protection Association (NFPA)